Button

The Button is a flexible Display Layout Item that is used to either trigger an Action or Workflow.

To add a Button to a Display Layout, follow the steps below.

  1. In Project Explorer, double-click the Display Layout to edit or right-click to Add a new one.
  2. Drag and drop the Button from the Toolbox into the work area.
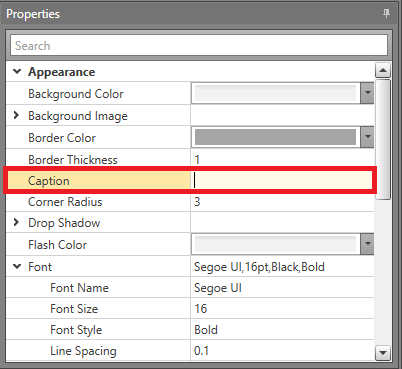
  3. To change the text on the Button, change the text in the Caption Property.

Once the Button has been added, you can either configure an On Click Action or use it as a Workflow trigger.

Configure an On Click Action

Using an On Click Action executes a single command when the Button is clicked.

To add an On Click Action to a Button, follow the steps below.

  1. In the Display Layout, select the Button.
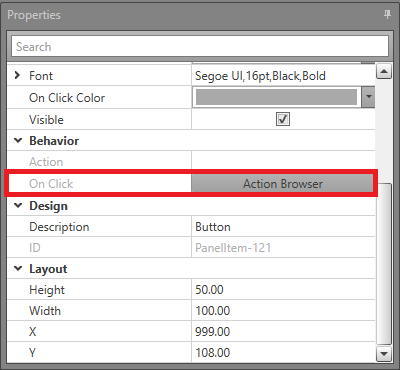
  2. In the Properties grid, navigate to the On Click Property and click the Action Browser button to select a Command.
  3. Click OK.

Use Button to Trigger a Workflow

You can use a Button being clicked as a trigger for any Workflow. This is useful when you do not require a singular Command to be run.

To use a Button to trigger a Workflow, follow the steps below.

  1. In Project Explorer, double-click the Workflow to edit, or right-click Interactive or Background Workflows to Add one.
  2. Double-click the Start block to open the Triggers dialog box. Click Add.
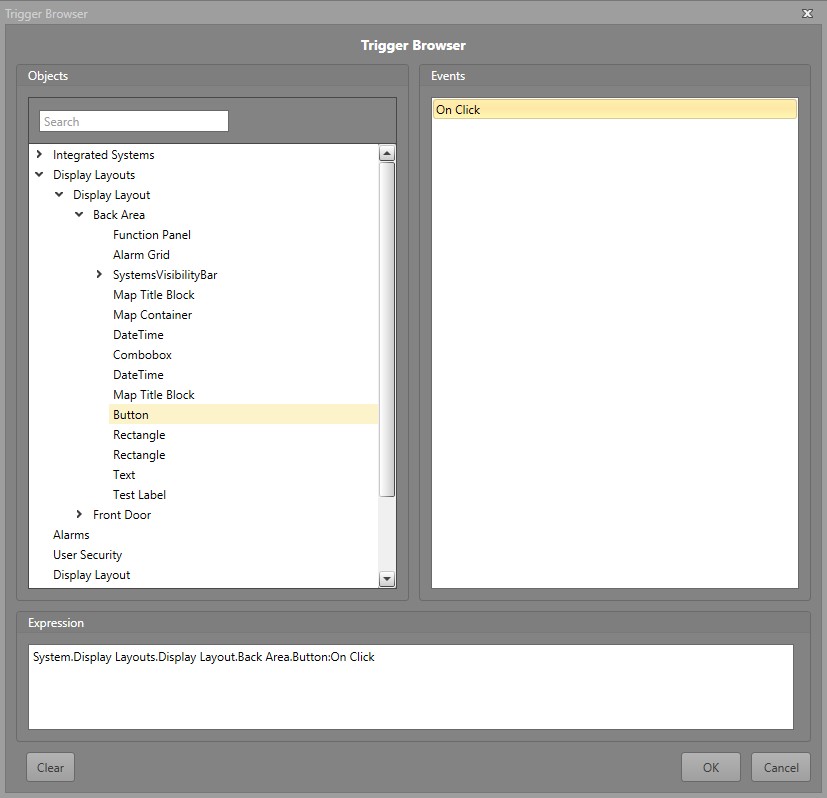
  3. In the Trigger Browser, navigate to Display Layouts > Display Layout. Expand the Layout containing the Button, then select it.
  4. In the Events pane, On Click is selected. Click OK to add the trigger.
  5. Click OK to set the trigger.