If a user requires a shape that is not already provided, they can create a custom
shape as a Polyline.
How to create a Polyline shape.
-
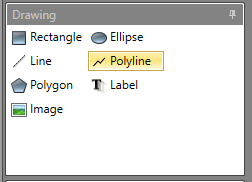
Select Polyline from the Drawing
pane.
-
Left-click for each point on the shape. If you need to remove a point,
right-click and select Delete point. If you are drawing
on a map, you can select Reset Path to reset the shape
back to the initial two points.
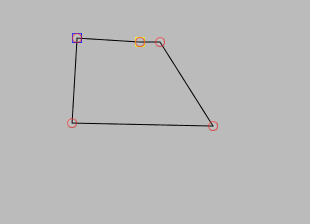
Note: Two lines are shown when creating a new point:
- Blue line — This line shows what the line for between the last drawn point and
the next point will look like based on your mouse pointer location.
- Yellow line — This line shows what the line between where the point of your current
mouse location is and the first drawn point will look like if you close the shape.
-
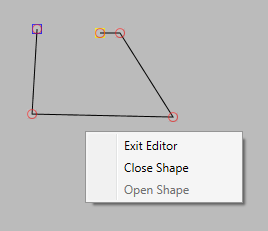
You can optionally close a shape. Right-click and select to Close
shape (if editing on a map, you can select this from the
Drawing pane). This will connect the first point to
the last point created.
-
To exit the Polyline editor, right-click and select
Exit editor (if editing on a map, you can select this
from the Drawing pane) or press Enter.
If you created the polyline shape on a map and have an RTLS integrated system in your project, you can
assign it to a zone asset so that it
acts as the asset icon.


